
Custom Channels lets you define additional payment channels — in-house wallets, vouchers, or third-party integrations — and link each channel to revenue centres with a fee percentage.
Who can use this page?
You need the Manage Channels permission (CAN_MANAGE_CHANNELS).
How to open Custom Channels
- Log in to FoodEase Office.
- In the sidebar, expand Channels.
- Click Custom Channels.
Page overview
| Area | What it does |
|------|----------------|
| Create Custom Channel | Opens the create form |
| Table | Lists existing channels with name, restaurant, description, and actions |
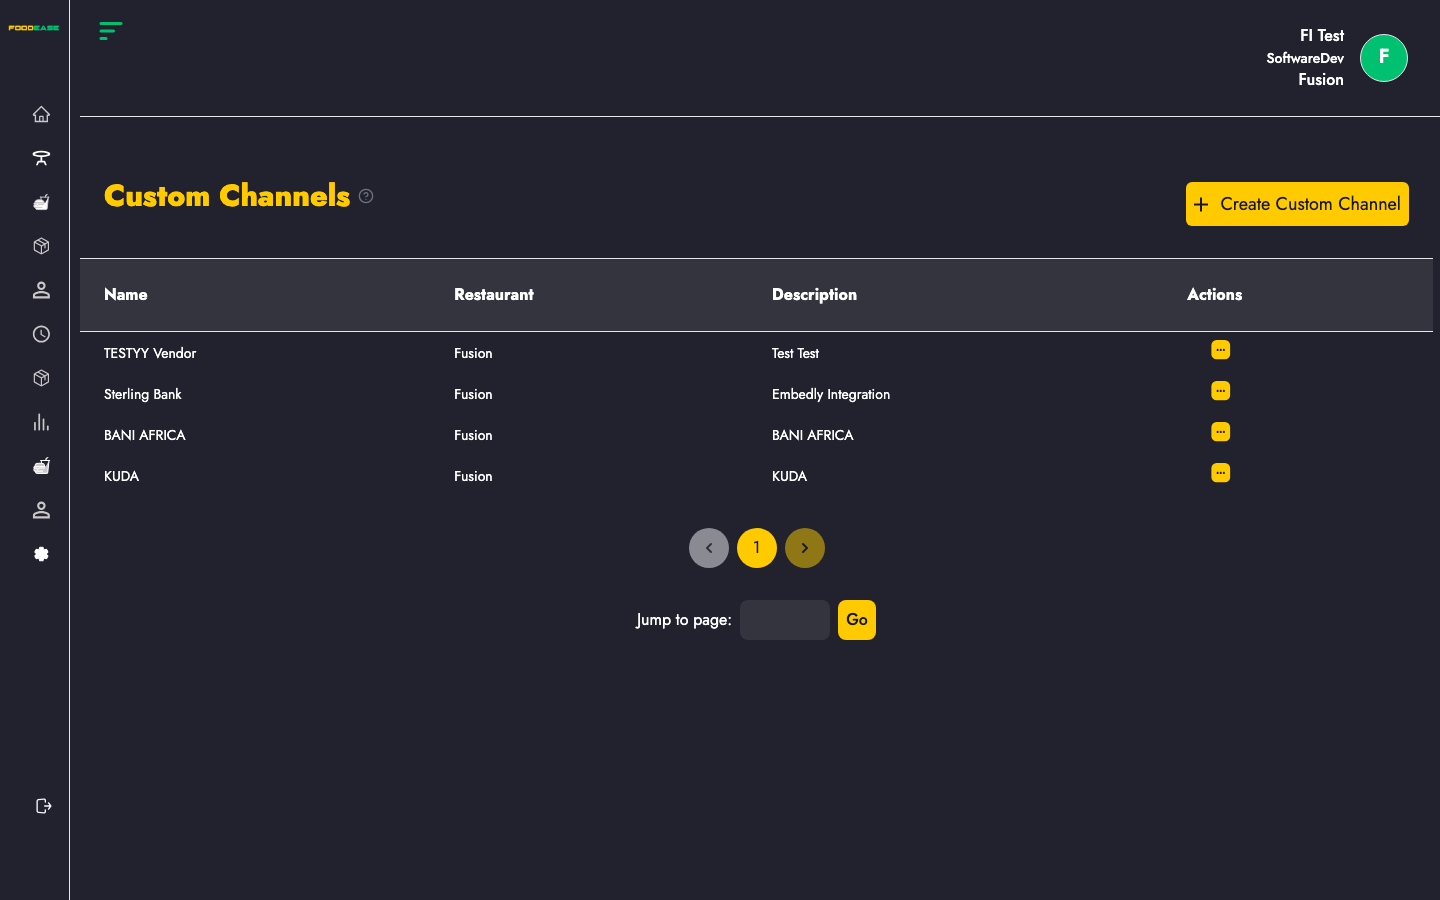
Custom channels table
| Column | Description |
|--------|-------------|
| Name | Channel display name |
| Restaurant | Restaurant the channel belongs to |
| Description | Short description of the channel |
| Actions | Edit — update channel settings |
Create a custom channel
- Click Create Custom Channel.
- Complete the form:
| Field | Required | Description |
|-------|----------|-------------|
| Channel Name | Yes | Preferred name for the channel |
| Channel Description | Yes | Short description |
| Revenue centre rows | Yes | One or more rows — pick a Revenue Centre and enter the Percentage fee charged by this channel per order |
- Use Add to include another revenue centre row, or Add to all revenue centres to populate every centre at once.
- Submit the form.
On success you return to the Custom Channels list with a confirmation message.
Edit a custom channel
- Open Actions on the channel row.
- Click Edit.
- Update name, description, or revenue centre percentages.
- Save.
Before you start
Configure Revenue Centres first — each channel row must reference at least one centre.
Related guides
- Orders — look up orders by customer phone
- Custom Channels Report — sales by custom channel