
Revenue Centres are the branches or locations of your restaurant — dine-in rooms, cloud kitchens, food courts, or separate outlets. Almost every other setup (tables, prep areas, item classes, pricing) links back to a revenue centre.
Who can use this page?
Permissions are controlled separately:
| Action | Permission required |
|--------|---------------------|
| View list | Available to users with table/menu access |
| Create | Create Revenue Center |
| Edit | Edit Revenue Center |
| Activate / deactivate | Toggle Revenue Center |
How to open Revenue Centre
- Log in to FoodEase Office.
- Sidebar → Tables → Revenue Centre.
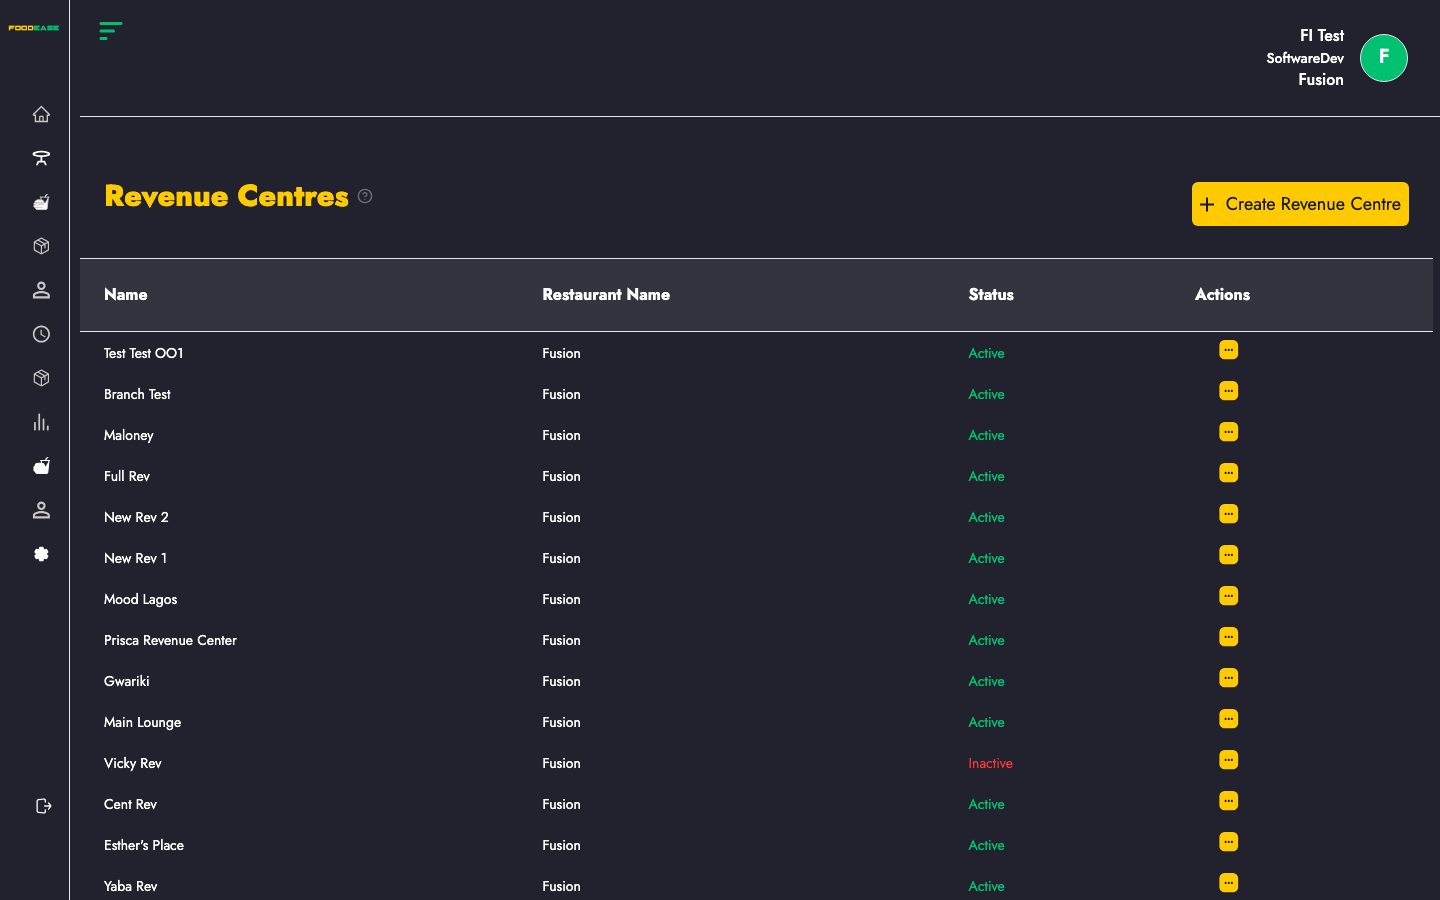
Page overview
| Column | Description |
|--------|-------------|
| Name | Location name |
| Restaurant Name | Parent restaurant brand |
| Status | Active (green) or Inactive (red) |
| Actions | Edit or toggle |
Create a revenue centre
- Click Create Revenue Centre.
- Complete the form (key fields include):
| Field | Description |
|-------|-------------|
| Name | Location name staff will recognise |
| Address / contact details | Location information for receipts and reports |
| Receipt printer | Printer for customer receipts at this location |
| State / region | Used for tax and local configuration where applicable |
| Image | Optional branding image for the location |
When creating a new centre, FoodEase may also set up linked store location and preparation area records automatically as part of the workflow.
- Click Create.
Edit a revenue centre
- Open Actions → Edit on the row.
- Update details and save.
You need Edit Revenue Center permission.
Activate or deactivate
- Open Actions → toggle.
- Inactive centres are hidden from active operations but retain historical sales data.
You need Toggle Revenue Center permission.
Why revenue centres matter
- Dining Tables are assigned per centre
- Preparation Areas belong to a centre
- Item Classes can be limited to specific centres
- Items can be sold at selected centres only
- Reports can be filtered by centre
Recommended setup order
- Revenue Centre ← you are here
- Revenue Line
- Item Class and Items
- Tables, Charges, Sales Tax