
The Tables page manages physical dining tables for locations that offer dine-in service. Each table has a number, guest capacity, and belongs to a revenue centre.
Who can use this page?
Users with access to the Tables section of FoodEase Office.
How to open Tables
- Log in to FoodEase Office.
- Sidebar → Tables → Tables.
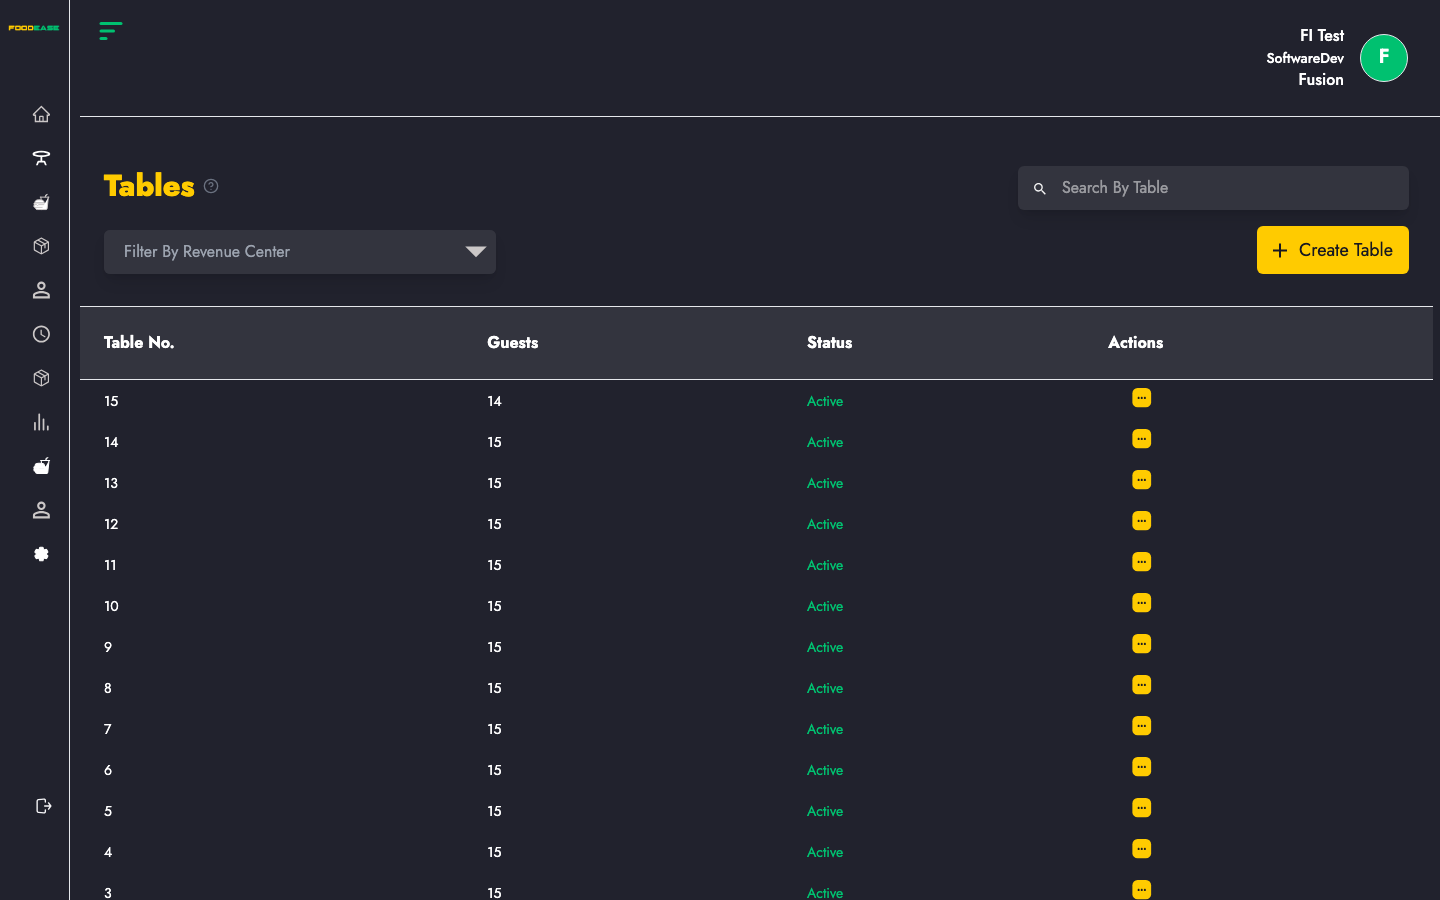
Page overview
| Column | Description |
|--------|-------------|
| Table No. | Table identifier used on POS |
| Guests | Maximum number of guests |
| Status | Active or Inactive |
| Actions | Edit or toggle |
| Control | Description |
|---------|-------------|
| Search By Table | Find a table by number |
| Filter by Revenue Center | Show tables at one location only |
| Create Table | Add a new table |
Create a table
- Click Create Table.
- Fill in the form:
| Field | Description |
|-------|-------------|
| Table Number | The number shown on POS (e.g. 1, 2, 12, VIP-1) |
| Number of Guests | Default or maximum seats for this table |
| Revenue Center | Location where this table exists |
- Click Create.
Edit a table
- Open Actions → Edit.
- Change table number, guest count, or revenue centre.
- Save.
Activate or deactivate a table
- Open Actions → toggle status.
- Inactive tables are hidden from POS table plans but remain in history.
Use this when renovating, removing, or temporarily closing tables.
Search and filter
- Search By Table — type a table number.
- Filter by Revenue Center — view only one location's floor plan.
Best practices
- Number tables the way waitstaff refer to them on the floor.
- Set guest count to realistic seating — it helps reservations and capacity planning on POS.
- Create Revenue Centres before adding tables.
Related guides
- Revenue Centre
- Charges — service fees that may apply to table orders