
Revenue Lines group sales for reporting purposes. When you create an Item Class, you assign it to a revenue line so sales roll up correctly in reports.
Who can use this page?
Available to users managing table and menu configuration. Create and edit actions follow your role permissions for restaurant setup.
How to open Revenue Line
- Log in to FoodEase Office.
- Sidebar → Tables → Revenue Line.
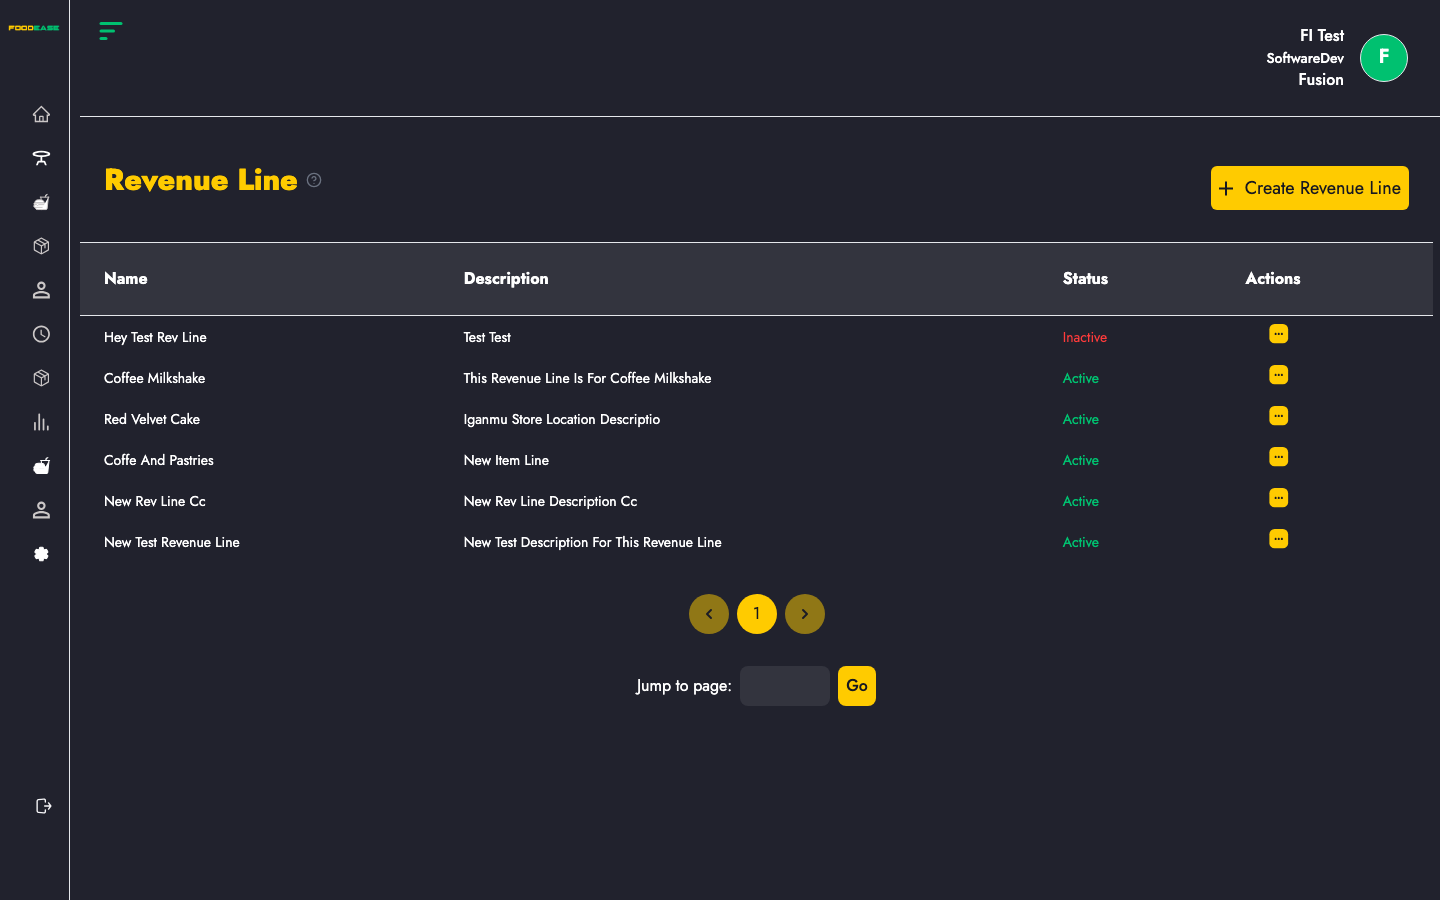
Page overview
| Column | Description |
|--------|-------------|
| Name | Revenue line label |
| Description | Optional detail for internal reference |
| Status | Active or Inactive |
| Actions | Edit or toggle |
Create a revenue line
- Click Create Revenue Line (add button on the page).
- Enter:
- Name — e.g. Food, Beverage, Retail
- Description — optional notes for your team
- Click Create.
Edit a revenue line
- Open Actions → Edit.
- Update name or description.
- Save.
Activate or deactivate
Use Actions → Toggle to deactivate lines no longer used. Historical report data is preserved.
How revenue lines connect to your menu
```
Revenue Line → Item Class → Items → Sales reports
```
Example:
- Revenue line: Food
- Item classes: Mains, Starters (both linked to Food)
- All sales from items in those classes aggregate under the Food revenue line in reports
Best practices
- Align revenue line names with how your finance team reads P&L statements.
- Create lines before item classes so every class has a reporting home.
- Avoid deleting or deactivating lines that still have active item classes assigned.