
Item classes group your menu into categories such as Main Meals, Sides, Drinks, or Desserts. Each class controls where items appear — on POS, online channels, and across revenue centres.
Who can use this page?
Staff with Create Item or Edit Item permissions can access Item Class under Items in the sidebar.
How to open Item Class
- Log in to FoodEase Office.
- In the sidebar, expand Items.
- Click Item Class.
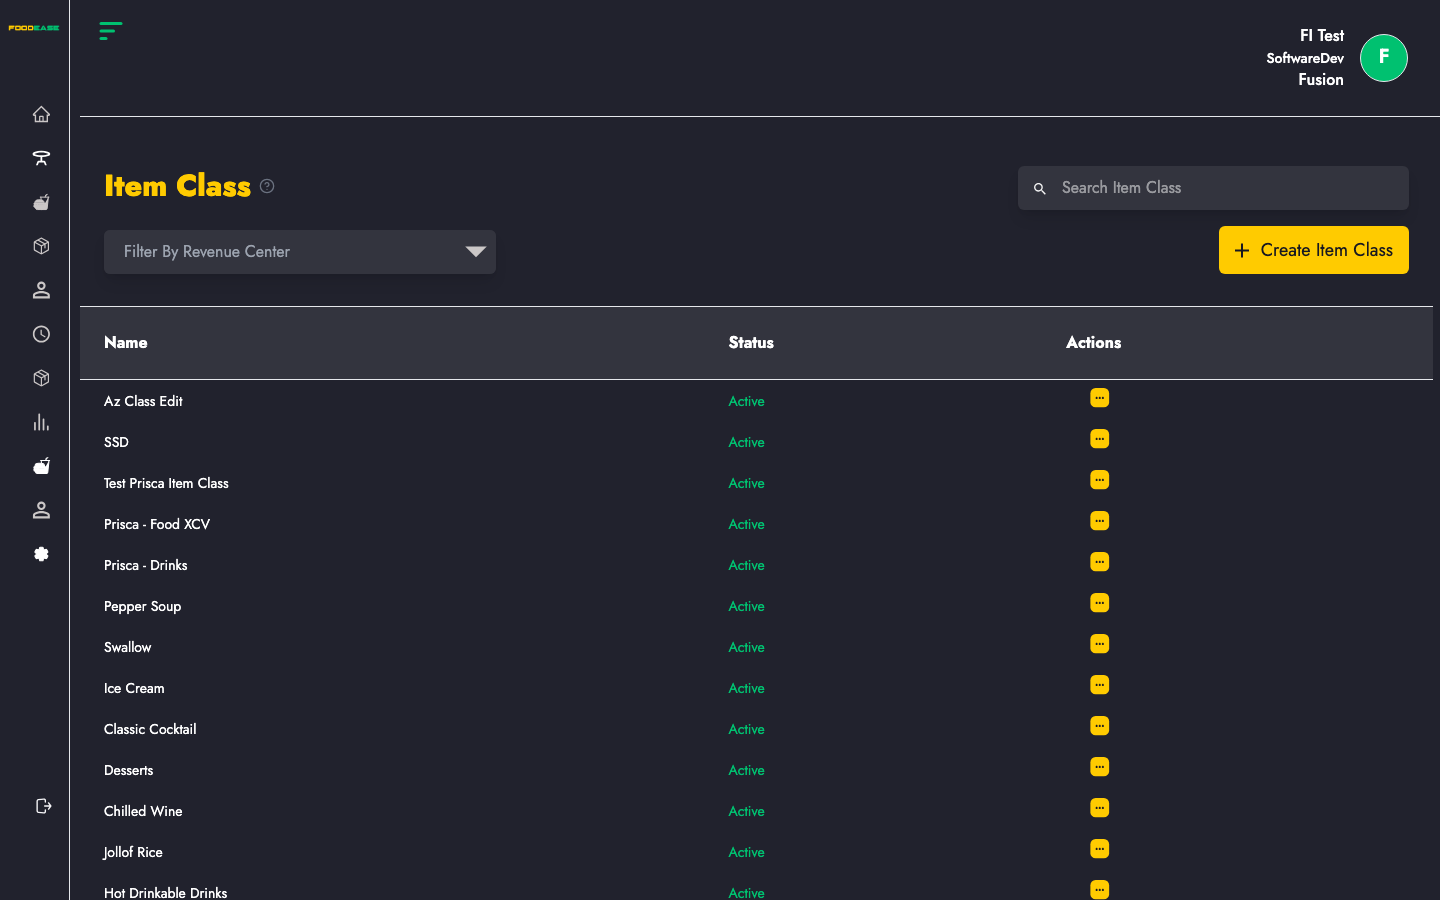
Page overview
| Area | What it does |
|------|----------------|
| Search bar | Find item classes by name |
| Filter by Revenue Center | Show classes available at a specific location |
| Create Item Class | Add a new menu category |
| Table | View name, status, and actions for each class |
Create an item class
- Click Create Item Class.
- Complete the form:
| Field | Description |
|-------|-------------|
| Name of Item Class | Display name (e.g. Starters, Cocktails) |
| Select Item Category | Food, Drinks, or Others |
| Select Revenue Line | Reporting line this class belongs to (set up under Revenue Line) |
| Select Stock Team | Inventory team responsible for items in this class |
| Select Rev Centers | Revenue centres where this class is active — use Select All or pick individually |
| Select sources | Toggle each sales channel (POS, web, delivery partners, etc.) where this class is available |
- Click Create.
Edit an item class
- Open Actions on the row → Edit.
- When editing, you can also change Show on POS? (Yes / No).
- Update any fields and click Save.
Activate or deactivate an item class
- Open Actions → toggle status.
- Inactive classes show in red; active classes show in green.
Deactivating a class hides it from active menus without deleting historical data.
Filter and search
- Search Item Class — filter by name.
- Filter by Revenue Center — see only classes linked to that location.
Recommended setup order
- Revenue Centre — define your locations
- Revenue Line — set reporting lines
- Item Class — create menu categories
- Items — add products into each class
Best practices
- Keep class names short and customer-friendly — they often appear on POS and receipts.
- Assign the correct Revenue Line so sales reports group correctly.
- Turn off channels you do not use for a class (e.g. disable delivery for alcohol classes if required by policy).
Related guides
- Items — add products to your classes
- Revenue Line — reporting structure for classes
- Preparation Area — kitchen routing for items in a class