
Preparation areas are the kitchen workspaces where food is prepared before it is served. Each prep area is linked to a revenue centre and can have a printer address so kitchen tickets route to the correct station.
Who can use this page?
Staff with Create Item or Edit Item permissions can access Preparation Area under Items in the sidebar.
How to open Preparation Area
- Log in to FoodEase Office.
- In the left sidebar, expand Items.
- Click Preparation Area.
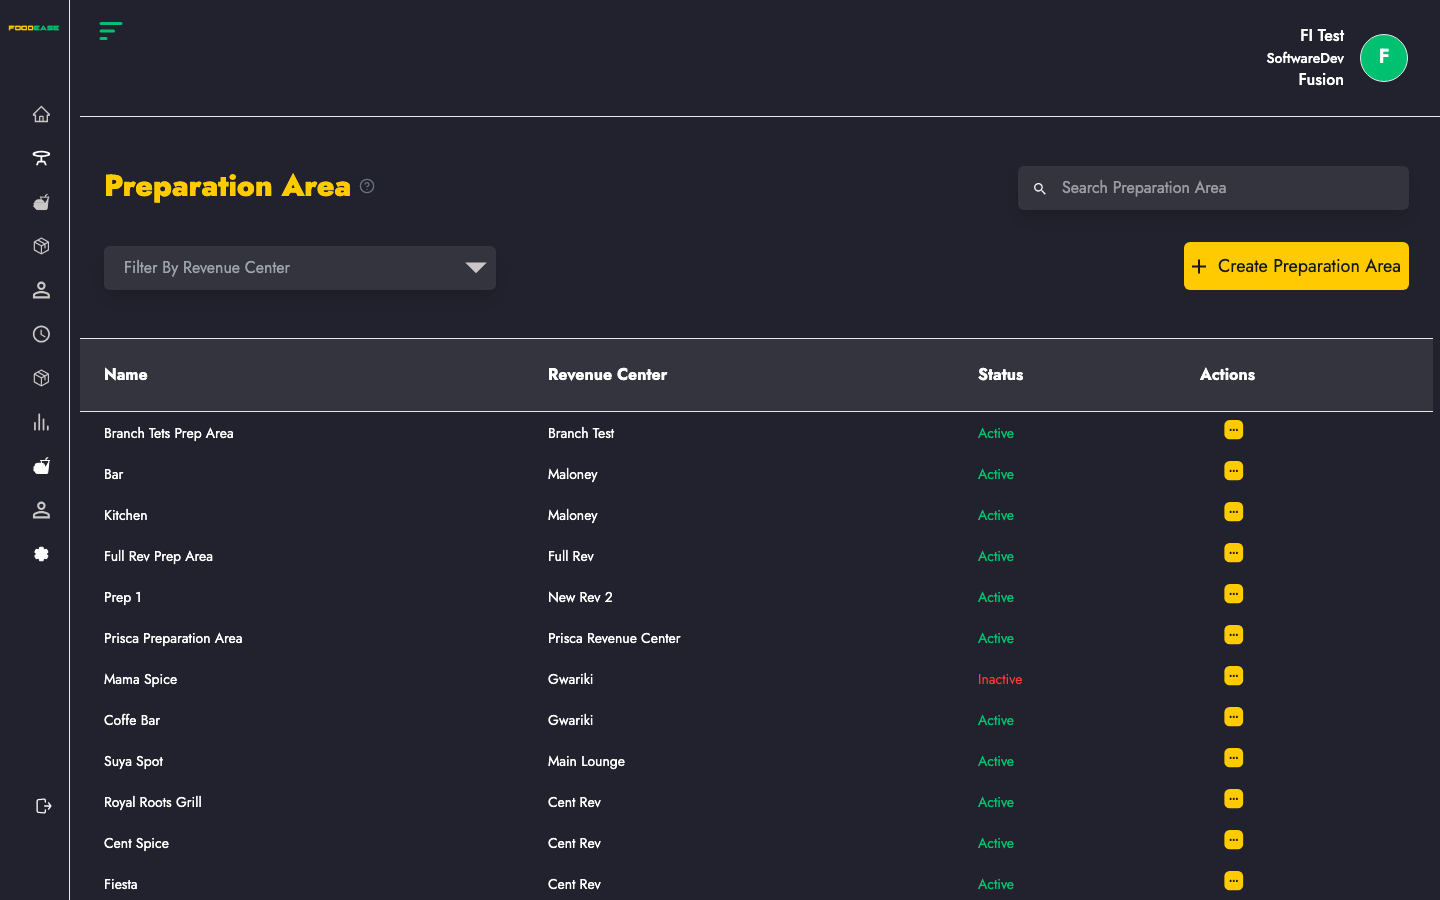
You will see a table listing all preparation areas with Name, Revenue Center, Status, and Actions.
Page overview
| Area | What it does |
|------|----------------|
| Search bar | Filter preparation areas by name |
| Filter by Revenue Center | Show only prep areas for one location |
| Create Preparation Area | Open the form to add a new prep area |
| Table | View, edit, or activate/deactivate existing prep areas |
Create a preparation area
- Click the yellow Create Preparation Area button (top right).
- Fill in the form:
| Field | Description |
|-------|-------------|
| Name of Prep Area | A clear name your kitchen staff will recognise (e.g. Grill, Cold Prep, Bar) |
| Select Revenue Center | The branch/location this prep area belongs to |
| Printer Address | IP or address of the kitchen printer for this station (optional but recommended for ticket printing) |
- Click Create.
- A success message confirms the prep area was created. The modal closes and the list refreshes.
Tip: Preparation area names must be unique. If you try to create a duplicate name, FoodEase will show an error.
Edit a preparation area
- In the table, open the Actions menu (⋮) on the row you want to change.
- Click Edit.
- Update Name, Revenue Center, or Printer Address.
- Click Save.
Activate or deactivate a preparation area
- Open Actions on the row.
- Click Toggle (or the activate/deactivate option).
- Active prep areas appear in green; Inactive ones appear in red.
Inactive prep areas are hidden from active kitchen workflows but remain in the system for reference.
Filter and search
- Search Preparation Area — type a name to narrow the list instantly.
- Filter by Revenue Center — select a branch to see only prep areas at that location.
Best practices
- Create one prep area per physical kitchen station that prints its own tickets.
- Name prep areas the same way your kitchen team speaks (“Pastry”, not “PA-01”).
- Set up Revenue Centres before creating prep areas, since every prep area must belong to one.
- Link prep areas when creating Items so orders route to the correct kitchen printer.
Related guides
- Item Class — group menu items before adding products
- Items — assign preparation areas to menu items
- Revenue Centre — set up locations first